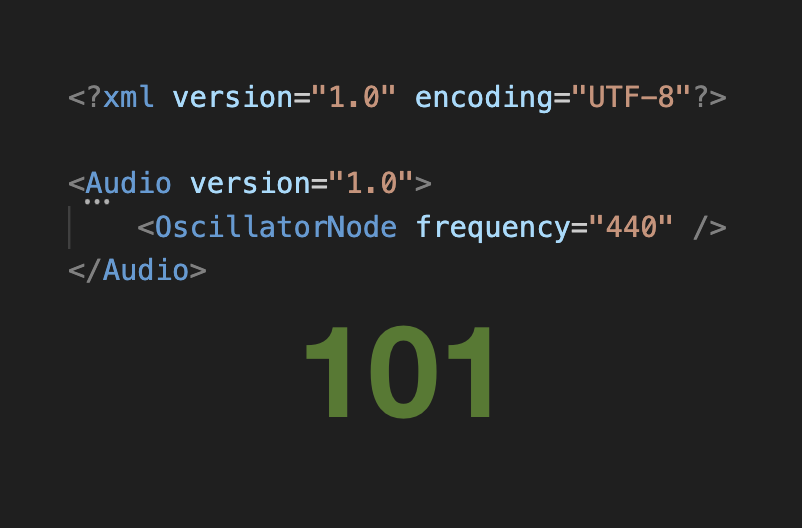
The fastest way to getting started with WAXML is to use p5.js. Go to https://editor.p5js.org/hanslindetorp/sketches/zTL6U-ieN and hit PLAY and you will here the note “A” with a frequency 440Hz. This is defined in the audio.xml file.
(If you can’t hear the sound directly, just click anywhere on the background to activate audio from the web page).
- Create an account on p5.js so you can duplicate and save Sketches
- Try to change the frequency. Save and Play.
- Try to change the type of the oscillator to “sawtooth” or “square” or “triangle”. Save and Play to test again.
1 | <OscillatorNode frequency="440" /> |
Now try to upload an audio file into the audio folder and add it to the configuration:
1 | <AudioBufferSourceNode class="sound1" src="audio/your-file-name.mp3" /> |
No sound? Correct! You need to trigger the playback of an audio file. So, now go to the index.html file and add a button that triggers the object with the corresponding class name (“sound1” in this case):
There is a lot mor to learn about WAXML.
Tutorials:
https://www.youtube.com/@hanslindetorp4769/playlists
Interactive examples:
Documentation
https://github.com/hanslindetorp/WebAudioXML/wiki
If you prefer a local editor and test server, then feel free to download the Sketch and start editing the files in the directory.